


I am all about these crafty projects as of late! As you know, I had a really, REALLY hard time trying to decide what the twins were going to be this Halloween. I kept going back and forth between three choices: Dorothy and the Lion, Pooh and Piglet, and Mickey Mouse and Minnie Mouse. I am normally not a fan of store bought costumes, because I am naturally a creative person at heart. So when I started googling Minnie Mouse costumes on Etsy and Pinterest, and saw these cute Tutu outfits, I was sold! It didn't look that hard to do, so I thought I would give it a shot. This will be Part 1 of two. Part 1 is how make your own DIY Tutu. Part 2 will be transforming this into Minnie Mouse (but have to wait until after she wears it! It will ruin the surprise!)
This was a VERY easy thing to do. I had to idea how easy and cheap it would be! This is also a no-sew tutu dress, which is good for all those people like me who have a very nice sewing machine, but still haven't quite figured out how to use it, lol. So here we go: a very simple, very cheap, very easy no-sew DIY Tutu Dress

Materials needed:
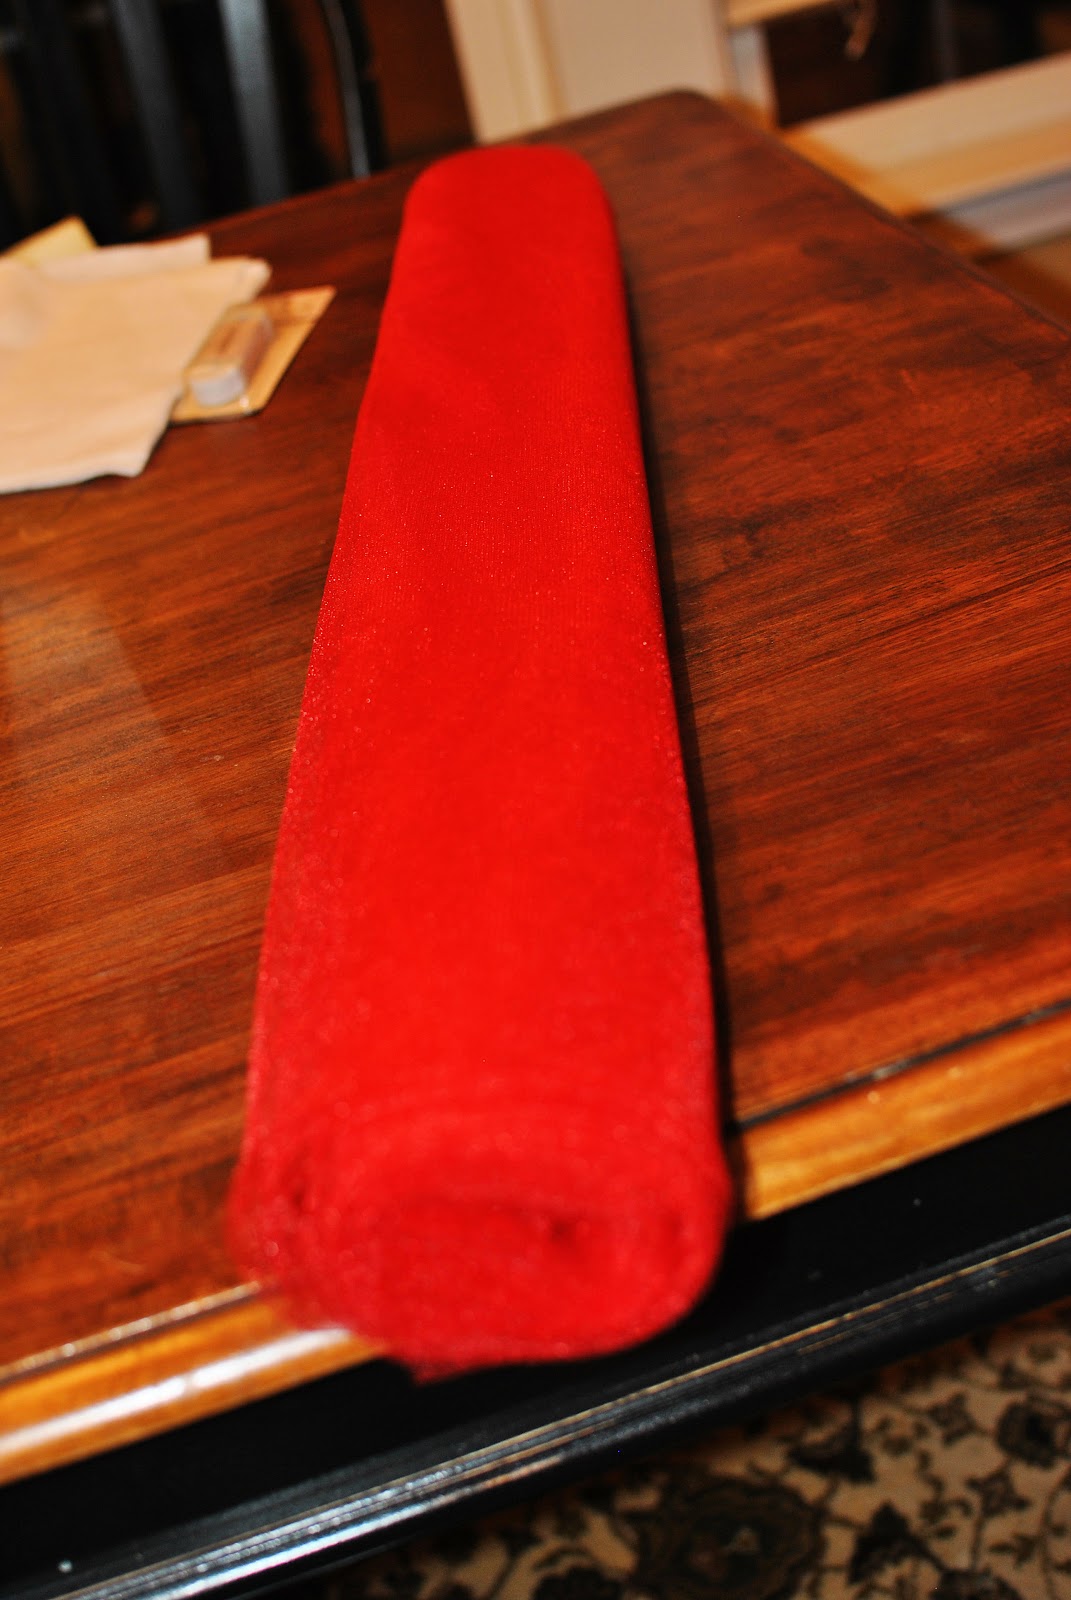
Tulle: You can buy the rolls of 6in tulle, which will be easier. I always go cheaper, so I bought 8 yds of red tulle at Hobby Lobby for $1.39/yd.
Elastic Roll: Around $2
Scissors
Stuff for Minnie costume: Ribbon and Pompoms and Felt (to be continued)
Step 1: Roll the Tulle up into a tube, making sure there aren't any wrinkles and that its even (saw this on YouTube, and its genius)

Step 2: Measure and cut the roll into 6in sections. It doesn't have to be exact. (Here is where it will just be easier to buy the roll, where its already in 6in sections, but I went for cheap)

Step 3: Measure your child, and see how long you will need each section to be. For Jules, it was 23in from her armpit to the floor (I am doing a dress, if you are doing a skirt, measure from their waist to the floor, or to your preference). Then you double that. So, each strip for me was cut to 6in wide, and 46in long. So, you just need to determine how long you want your tutu to be, then double it!

Step 4: Gawk at the big old pile of tulle in your floor

Step 5: Grab a roll of paper towels. This will be great in helping you make your tutu. I will note here that I decided against using the elastic. I got a great idea to use some old head band wraps that Jules wore some as a baby. You attached bows, etc to them. They stretch, are elastic and red! If you do the elastic, just measure your child around, cut the elastic, and you can tie the ends together.

Step 6: Start your Tutu. Double up the strip so that its 23in long, then loop in underneath your waistband and pull the long strip through. So, just loop it thtough, then pull the remainder down. (kind of like you did with old school jelly bracelets, lol!)
 |
| Pulling the long part through |
 |
| The finished loop will look like this. |

Step 7: Just keep going and going and going.
And you're done! The amount of tulle you buy will depend of your preference. I wanted mine very full, so I got 8 yards.

|
| Isn't it pretty??? Next I will add pompoms, a halter, and ribbon! |
Vote for us if you like to make easy crafts!
Linking up with Bunny Decor
This is so cute! Love it.
ReplyDeleteSuper cute! I'm not crafty but may just have to try this =)
ReplyDeleteSuper cute and so easy! Thanks for sharing. Newest follower from the Whimsical Wednesday hop.
ReplyDeleteSandy
Cherished Handmade Treasures
love this, so cute! i'm stopping by from the follower fest and would love for you to visit my blog and checkout the huge giveaway going on- http://thelovelypoppy.blogspot.com/2011/10/blog-follower-giveaway.html xoxo nicole
ReplyDeletelove this I want to make one for my daughter!!! thanks for such a great dyi i found your blog
ReplyDeleteI love making tutus! I cannot wait to see the rest of the costume!
ReplyDeleteHi.. found ya on a link party. Love this tutorial on how to make a tutu. haha. Great job :)
ReplyDeleteThat is lovely! Thanks for showing how to do it. I love to decorate with tulle and I am sure I could adapt this to a lampshade or something!
ReplyDeleteSo cute.. and very clever of you to slip it over the paper towels when making it. I've made my share of these when I had my shop in Texas. I will look forward to seeing more!
ReplyDeletexoxo Bunny Jean
Wednesday's Bunny Hop Party!
Great idea and so easy to do.
ReplyDeleteHappy BHW!
I cannot wait to see the final Minnie Mouse Tutu....I'm your new follower from The Bunny Hop!
ReplyDeleteI'm only 12 and I'm making one for my sisters birthday
ReplyDeleteI'm making on 4 my lil sis 3rd bday party
ReplyDeleteDid you use more than one strip of Tulle when you tied the Tulle strips on the head band
ReplyDeleteLove this! I can't wait to try it.
ReplyDeleteI love this I've done two tutu's for my nieces birthday. But I can't wait to make Christmas dresses and Easter dresses. Fashion and making clothing is my passion. Great job sweety.
ReplyDeleteI love this. I love making tutu's. I can't wait to make dresses for the girls in my family for Christmas and Easter.
ReplyDeletecant wait sounds cute!
ReplyDeleteHow many spools would you need if buying the tulle that way?
ReplyDeletethis was amazing! so simple and turned out great!
ReplyDeletethis was amazing! so simple and turned out great!
ReplyDeleteLove this
ReplyDelete